Deploy Vaultwarden with Postgres (on your Synology)
Archived post · originally published · may be out of date
Introduction
Initially when you spin-up a Vaultwarden instance, the container itself deploys a SQLite database which works for the majority of use cases however in certain circumstances, such as a larger organization, it is more preferable to have a separate database that Vaultwarden connects to. Originally based on the guide provided by the Vaultwarden team, my guide is more in-depth and designed for a beginner.
How To
My environment consists of my Synology that is utilizing Portainer to manage my containers.
Deploy Portainer
I highly recommend using Portainer to manage and deploy your containers on your Synology (instead of Container Manager) but you can skip this step if you are comfortable with the command line (we will be using a docker compose file). Here is a quick guide on how to install Portainer on your Synology.
Create new folders on your Synology
Create a new vaultwarden folder located in your docker shared folder, then create two subfolders:
db-> this folder will be used by Postgresapp-> this folder will be used by Vaultwarden itself
In my case, my folder path is /docker/storage/vaultwarden because I like having an additional sub-folder to store all of my container data instead of putting it in the root of docker:
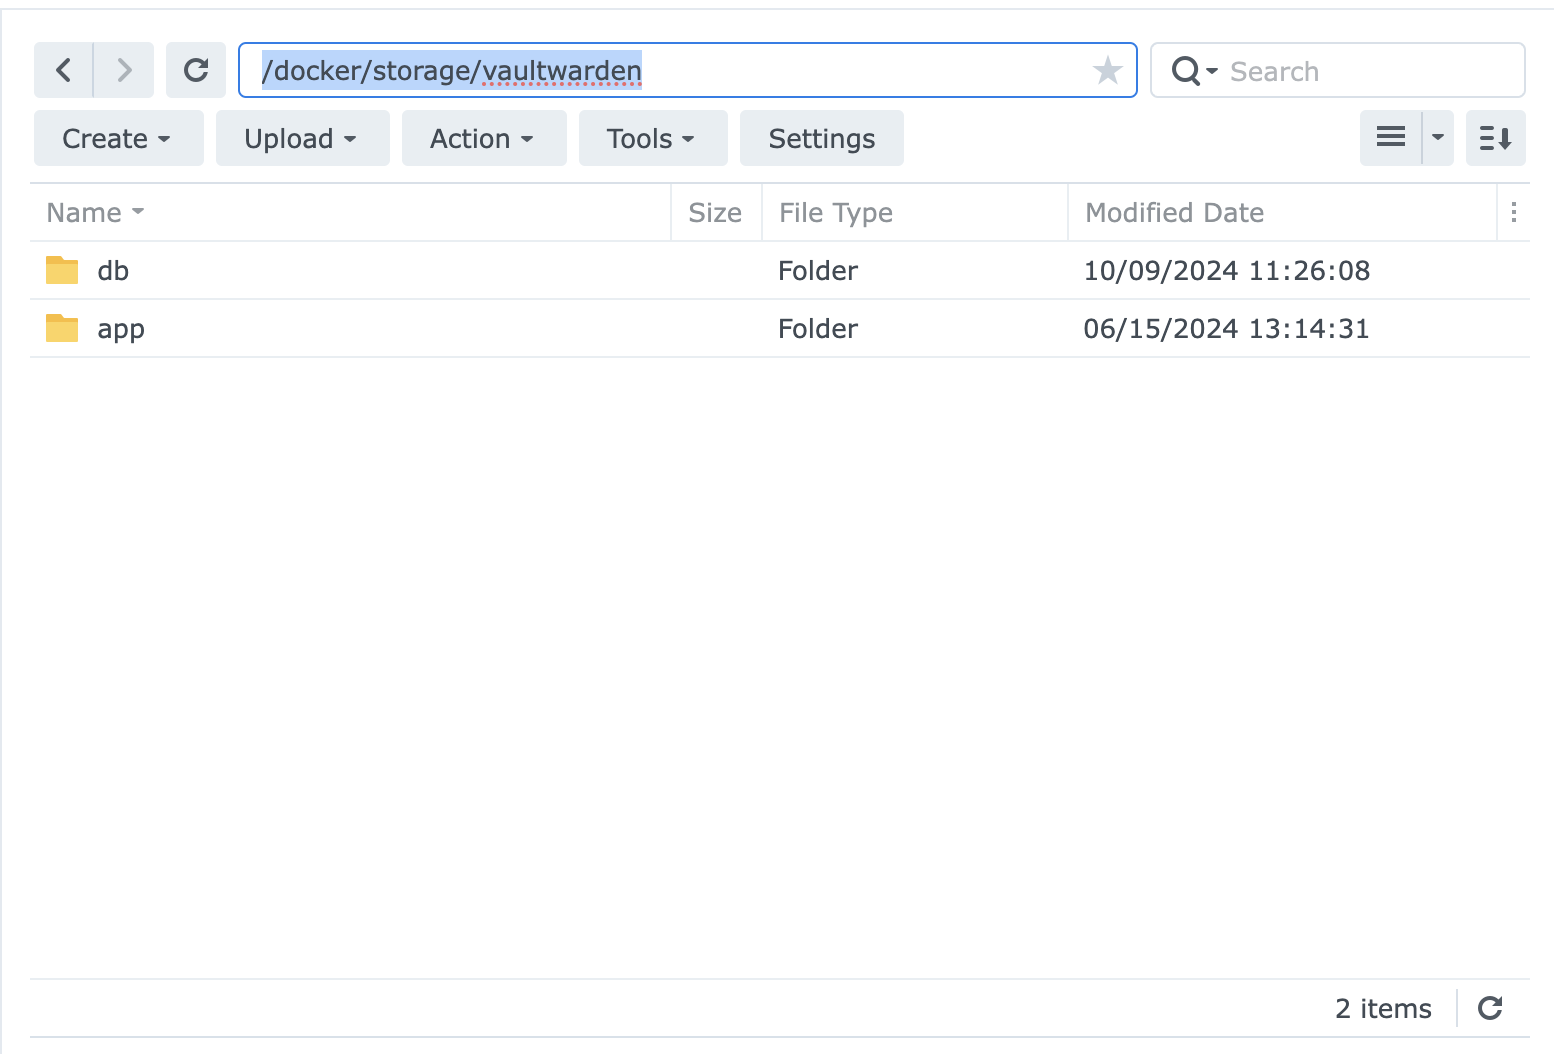
Deploy Vaultwarden with Postgres
Deploy the following compose file as a stack to Portainer:
- FYI - my original Vaultwarden docker compose file was based on a guide I followed from Marius hosting (so check him out!)
- Make sure to update the various
volumespaths for each container with your own paths - Also make sure to update the following values with your own values:
- For the Postgres
dbcontainer, change the following ->POSTGRES_PASSWORD - For the Vaultwarden container, change the following:
- I set the default port to 4020 so feel free to change it
- I set new sign-ups to
SIGNUPS_ALLOWED: falsewhich means you have to use the admin portal to create new users so feel free to set this value toSIGNUPS_ALLOWED: trueif you want to allow users to sign-up themselves - With the
DATABASE_URL, it is based on the values from your compose file ->DATABASE_URL=postgresql://user_name:user_password@db_host:5432/vaultwarden - Create a new password for the
ADMIN_TOKEN:as this will be used to access the admin portal - For the
DOMAIN:value, use the URL you would like to access Vaultwarden via your proxy, so for examplehttps://vaultwarden.owltec.ca - For the various
SMTPvalues, provide your own -> if you do not have a SMTP account I recommend you sign up for a free account with SMTP2GO
- For the Postgres
version: "3.9"
services:
  db:
    image: postgres:16
    container_name: Vaultwarden-DB
    hostname: vaultwarden-db
    security_opt:
      - no-new-privileges:true
    healthcheck:
      test: ["CMD", "pg_isready", "-q", "-d", "vaultwarden", "-U", "vaultwardenuser"]
      timeout: 45s
      interval: 10s
      retries: 10
    volumes:
      - /volume1/docker/storage/[YOUR VAULTWARDEN FOLDER]/db:/var/lib/postgresql/data:rw
    environment:
      POSTGRES_DB: vaultwarden
      POSTGRES_USER: vaultwardenuser
      POSTGRES_PASSWORD: [CHANGE ME]
    restart: on-failure:5
  vaultwarden:
    image: vaultwarden/server:latest
    container_name: Vaultwarden
    hostname: vaultwarden
    security_opt:
      - no-new-privileges:true
    ports:
      - 4020:4020
    volumes:
      - /volume1/docker/storage/[YOUR VAULTWARDEN FOLDER]/app:/data:rw
    environment:
      ROCKET_PORT: 4020
      SIGNUPS_ALLOWED: false
      DATABASE_URL: postgresql://vaultwardenuser:[POSTGRES_PASSWORD]@vaultwarden-db:5432/vaultwarden
      ADMIN_TOKEN: [CHANGE ME]
      DISABLE_ADMIN_TOKEN: false
      DOMAIN: [YOUR URL]
      SMTP_HOST: [CHANGE ME]
      SMTP_FROM: [CHANGE ME]
      SMTP_PORT: 587
      SMTP_SECURITY: starttls
      SMTP_USERNAME: [CHANGE ME]
      SMTP_PASSWORD: [CHANGE ME]
    restart: on-failure:5
    depends_on:
      db:
        condition: service_started
If you are successful with your deployment then you will be greeted with a login page at HTTP://CONTAINER HOST IP:PORT:
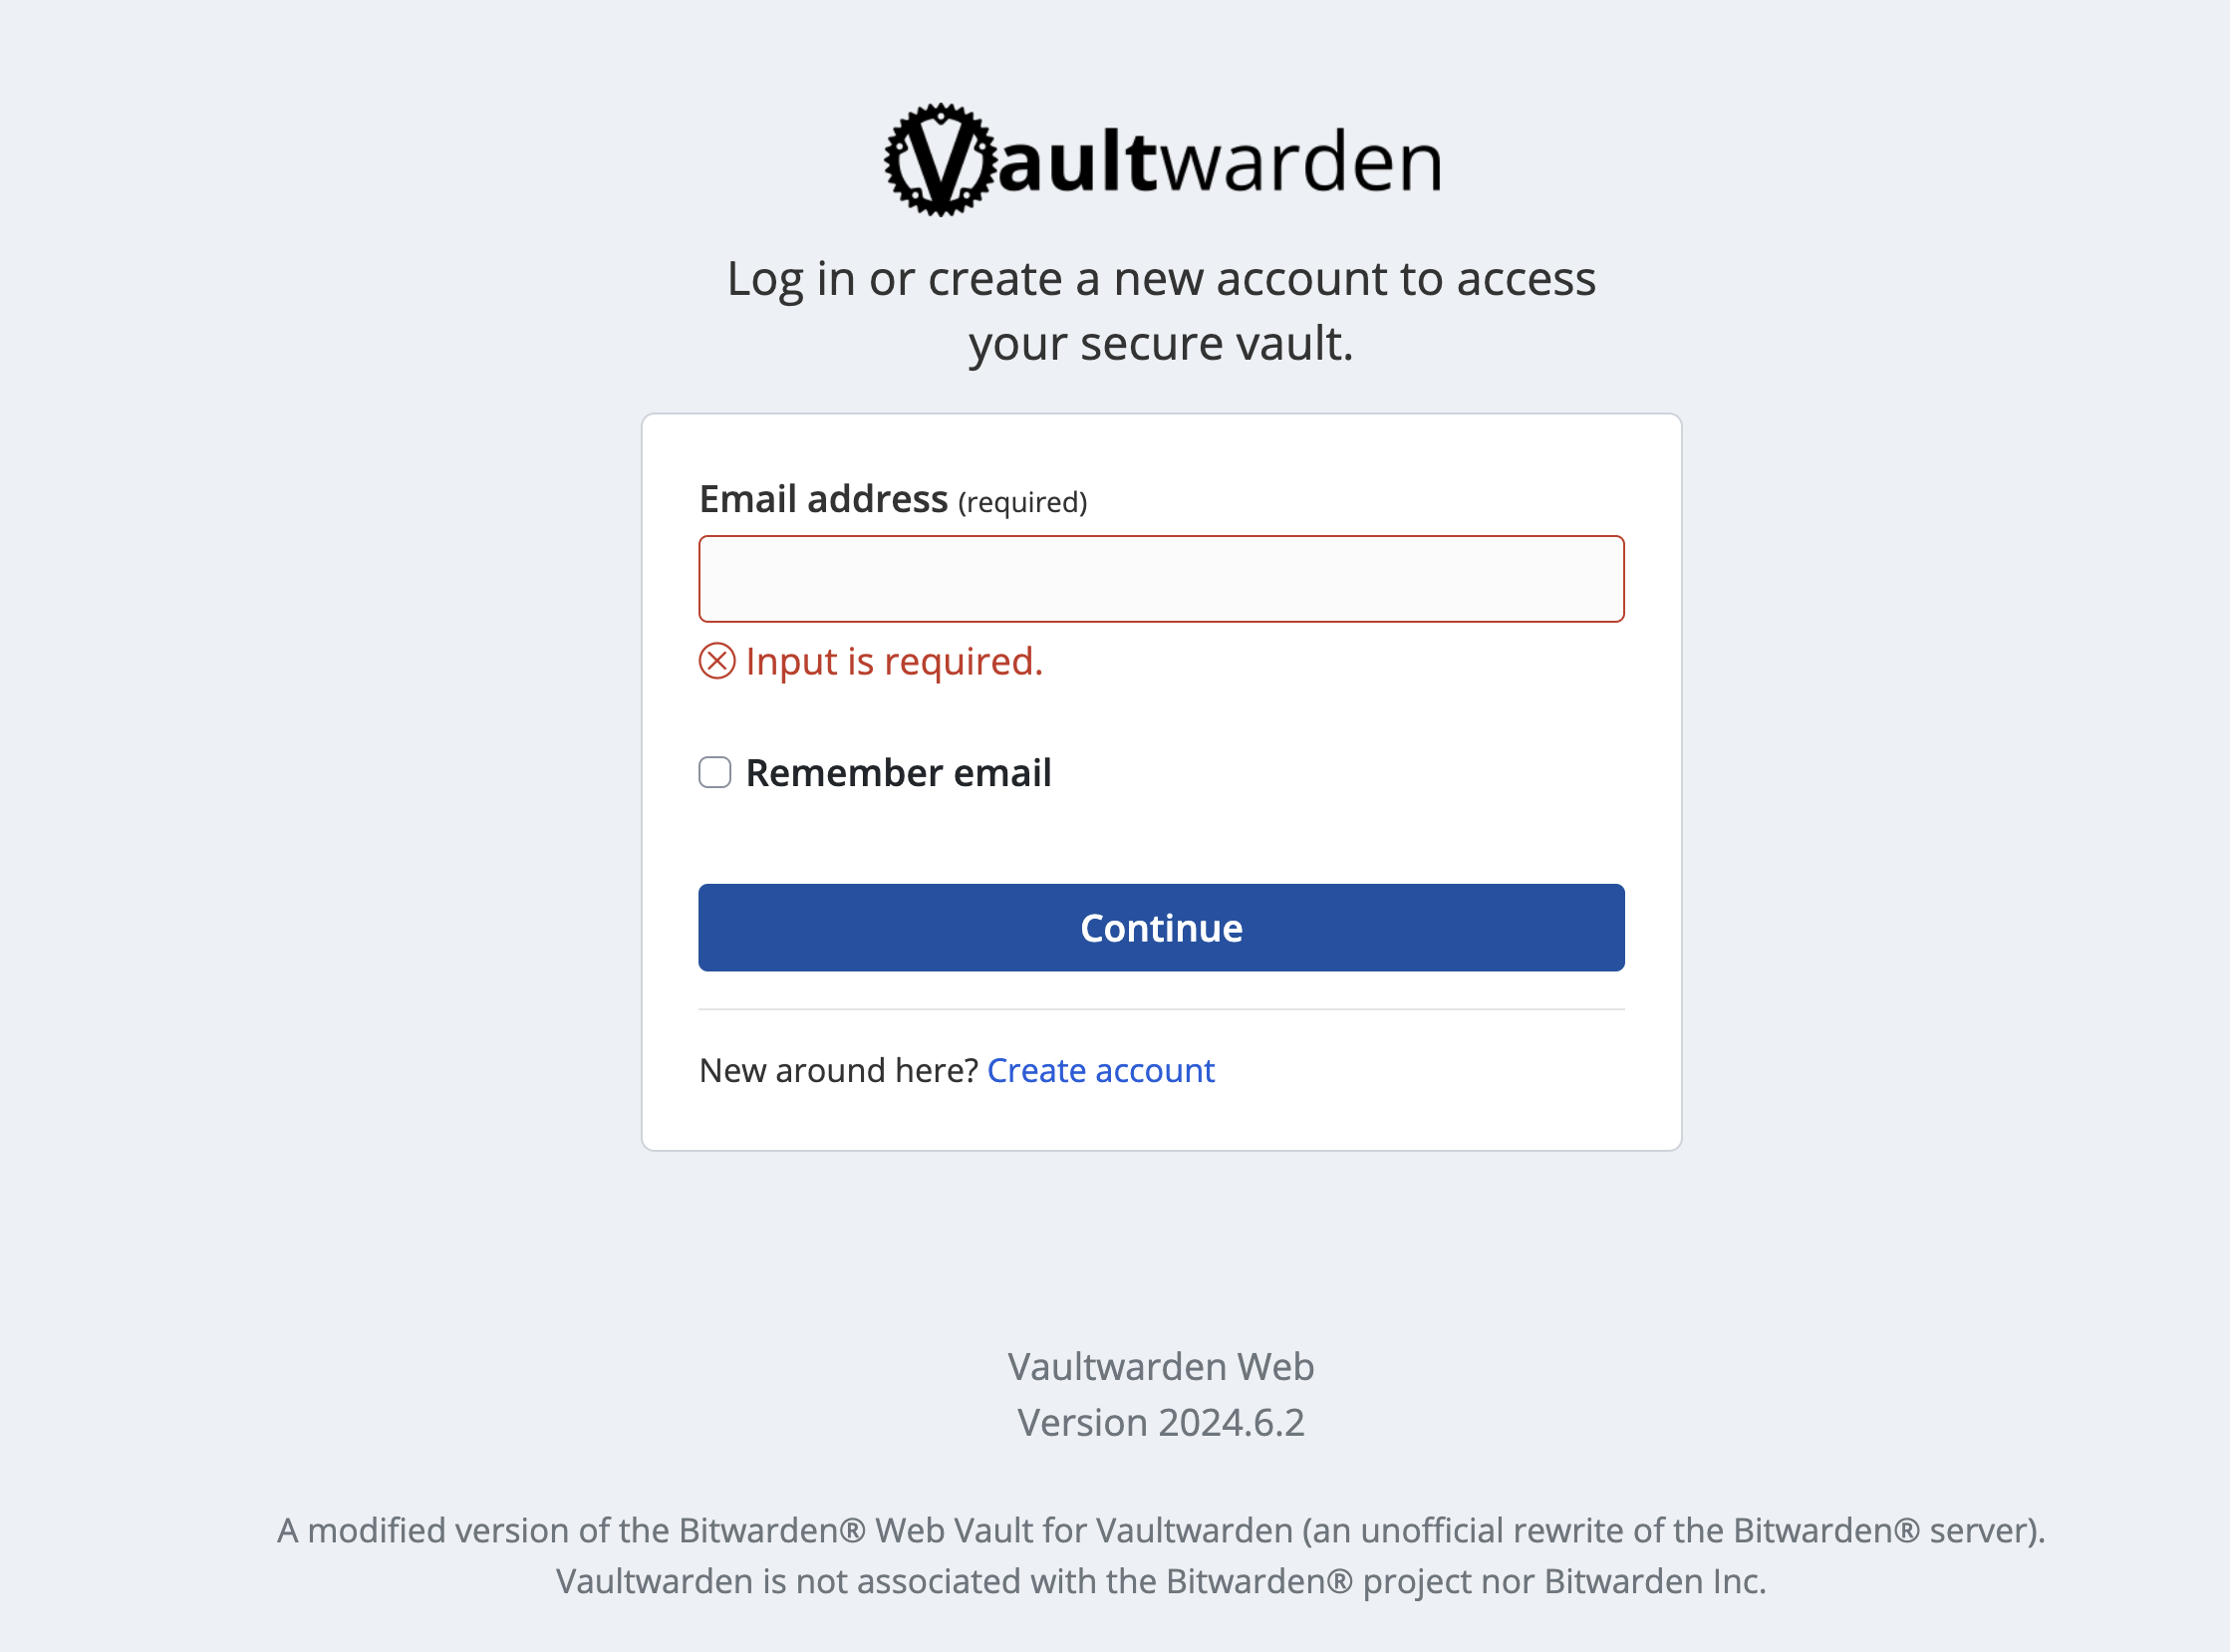
To begin creating users and customizing your experience, navigate to the admin portal at HTTP://CONTAINER HOST IP:PORT/admin then use the previously created ADMIN_TOKEN value to sign-in: